
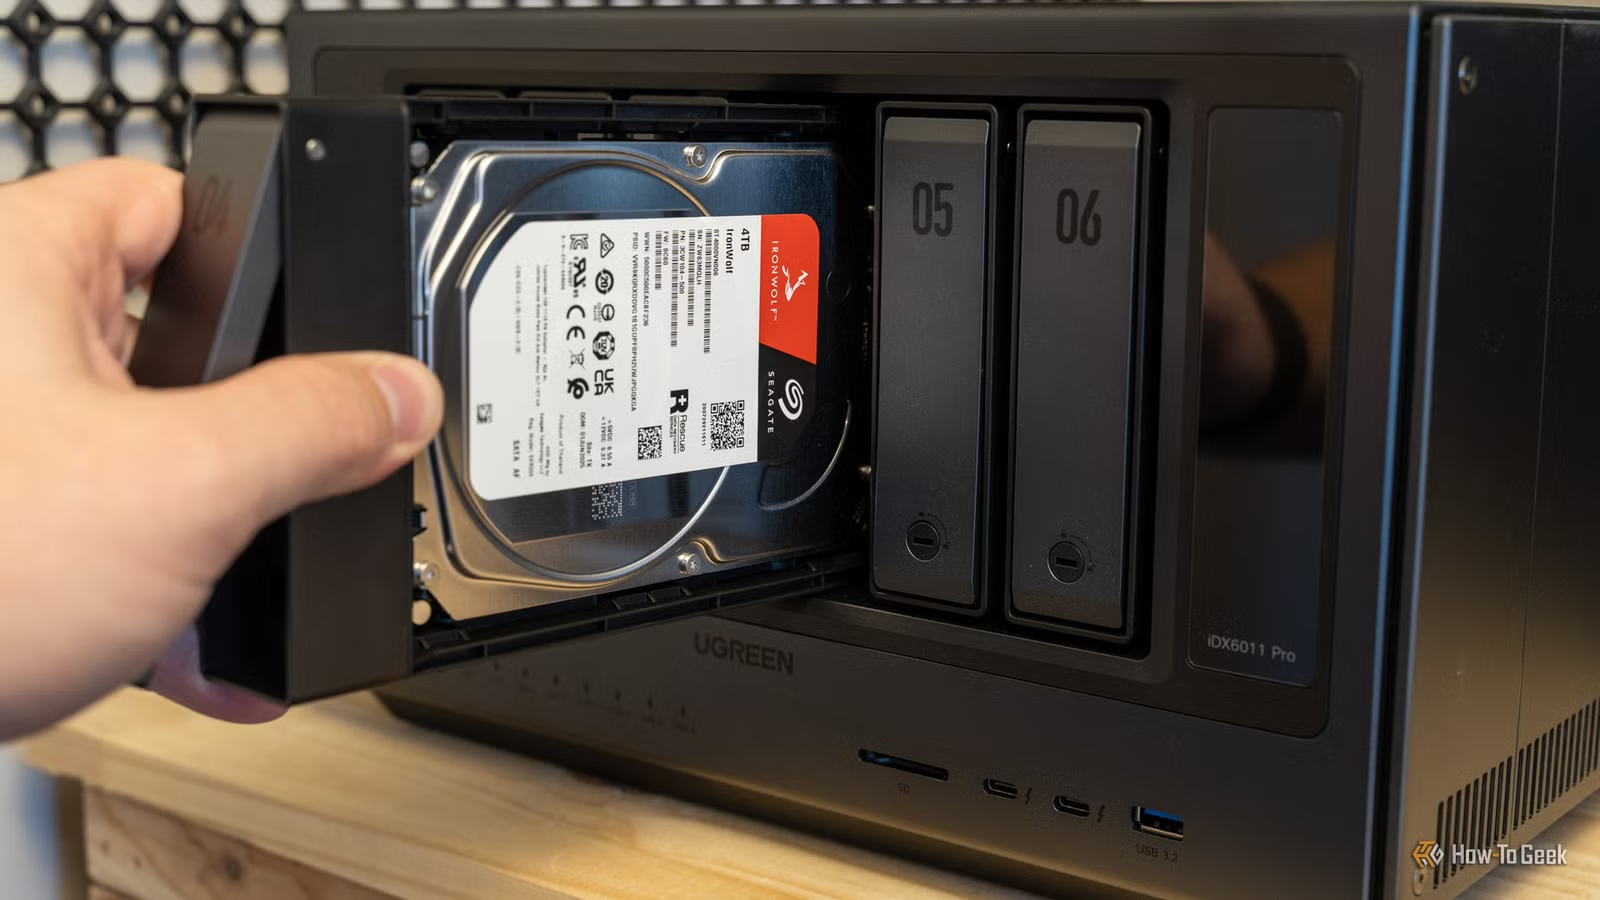
Upgrading your computer’s hard drive is one of the most effective ways to improve performance, increase storage capacity, and extend the lifespan of your PC. Whether you’re replacing an aging HDD with a faster SSD or installing a larger drive to accommodate growing files, many users worry that the process will require reinstalling Windows, applications, and personal data from scratch.
Fortunately, that’s no longer the case. Modern disk cloning software allows you to transfer your entire operating system, installed programs, settings, and files to a new drive without reinstalling Windows. This approach saves hours of work and minimizes the risk of losing important data. If you’re looking for reliable disk migration tools and step-by-step resources, kracensoft com offers useful information on cloning software and system utilities that simplify the upgrade process.
In this guide, you’ll learn how to upgrade your hard drive without reinstalling Windows, what tools you’ll need, and the best practices to ensure a smooth migration.
Why Upgrade Your Hard Drive?
There are several reasons users decide to replace their existing storage drive.
Better Performance
Switching from a traditional hard disk drive (HDD) to a solid-state drive (SSD) dramatically improves boot times, application loading, and overall system responsiveness.
More Storage Space
If your current drive is nearly full, upgrading to a larger SSD or HDD provides additional room for applications, games, videos, and documents.
Improved Reliability
Older hard drives eventually wear out. Replacing them before failure helps prevent unexpected data loss and system downtime.
Lower Power Consumption
SSDs consume less power than conventional hard drives, making them an excellent choice for laptops where battery life matters.
Can You Upgrade Without Reinstalling Windows?
Yes. Disk cloning technology makes it possible to copy your entire system exactly as it exists.
A clone includes:
- Windows operating system
- Installed applications
- User accounts
- Personal files
- Drivers
- System settings
- Boot configuration
Once the cloning process is complete, your new drive becomes an exact copy of the old one, allowing you to continue working immediately after replacing the hardware.
What You’ll Need
Before starting the upgrade, gather the following:
- Your new SSD or HDD
- A SATA-to-USB adapter or external enclosure (if needed)
- Disk cloning software
- A screwdriver for desktop or laptop installation
- A backup of important files
Although cloning is generally safe, maintaining an independent backup is always recommended before making major hardware changes.
Step 1: Install or Connect the New Drive
For desktop computers, connect the new drive internally using an available SATA cable and power connector.
For laptops, it’s often easier to connect the replacement drive externally through a USB adapter while cloning.
Ensure Windows detects the new drive before proceeding.
Step 2: Initialize the New Drive
Open Windows Disk Management.
If the drive is brand new, Windows will prompt you to initialize it.
Choose the partition style appropriate for your system:
- GPT for modern UEFI systems
- MBR for older BIOS-based computers
After initialization, the drive will be ready for cloning.
Step 3: Clone the Existing Drive
Launch your preferred disk cloning software.
Most cloning utilities follow a similar process:
- Select the current system drive as the source.
- Select the new drive as the destination.
- Review partition sizes.
- Enable SSD optimization if migrating to an SSD.
- Start the cloning operation.
Depending on the amount of data, cloning may take anywhere from several minutes to a few hours.
Avoid interrupting the process until it finishes successfully.
Step 4: Replace the Old Drive
Once cloning is complete:
- Shut down the computer.
- Remove the old drive.
- Install the cloned SSD or HDD.
- Secure the drive properly.
- Reassemble the system.
If using a desktop with multiple drives, you may leave the original drive disconnected during the first boot to avoid boot conflicts.
Step 5: Boot from the New Drive
Power on your computer.
Most systems automatically boot from the new drive.
If not:
- Enter BIOS or UEFI settings.
- Change the boot order.
- Select the cloned drive as the primary boot device.
- Save changes and restart.
Windows should load exactly as it did before, with all your applications and files intact.
Common Issues After Cloning
Although cloning usually works smoothly, a few problems can occur.
Windows Doesn’t Boot
Possible causes include:
- Incorrect boot order
- Damaged boot records
- Incomplete cloning process
Boot repair tools or repeating the cloning operation often resolves these issues.
Smaller Capacity Displayed
If the cloned drive appears smaller than expected, the remaining space may be unallocated.
Use Disk Management to extend the primary partition into the unused space.
Missing Drive Letter
Sometimes secondary partitions lose their drive letters after migration.
Assign new letters using Disk Management.
HDD vs SSD: Which Should You Choose?
Hard Disk Drive (HDD)
Advantages:
- Lower cost
- Large storage capacities
- Good for media archives
Disadvantages:
- Slower performance
- Moving mechanical parts
- Higher power consumption
Solid-State Drive (SSD)
Advantages:
- Extremely fast boot times
- Faster application loading
- Silent operation
- Greater durability
- Better energy efficiency
Disadvantages:
- Higher cost per gigabyte
For most users upgrading Windows computers today, SSDs provide the best overall experience.
Tips for a Successful Upgrade
Follow these best practices before cloning:
- Remove unnecessary files to reduce cloning time.
- Update Windows before migration.
- Scan the drive for errors.
- Disable encryption temporarily if required by your cloning software.
- Keep your laptop connected to power throughout the process.
After installation:
- Verify your files.
- Confirm Windows activation.
- Check available storage space.
- Update SSD firmware if recommended by the manufacturer.
Why Cloning Is Better Than Reinstalling Windows
A fresh installation requires:
- Reinstalling Windows
- Downloading updates
- Installing drivers
- Reinstalling software
- Restoring personal files
- Reconfiguring settings
Cloning avoids all these steps by transferring your existing environment exactly as it is.
This saves significant time while preserving productivity and reducing configuration errors.
Maintaining Your New Drive
After upgrading, keep your storage healthy by:
- Running regular backups
- Keeping Windows updated
- Monitoring drive health
- Avoiding unnecessary writes on SSDs
- Maintaining sufficient free storage space
Microsoft also recommends using built-in Windows maintenance tools to optimize storage performance and reliability over time. Learn more through the official Microsoft Windows Storage documentation.
Conclusion
Upgrading your hard drive without reinstalling Windows is easier than ever thanks to modern disk cloning technology. Whether you’re replacing an old HDD with a high-speed SSD or expanding your storage capacity, cloning preserves your operating system, applications, settings, and personal files while saving hours of setup time.
With the right preparation, reliable cloning software, and careful installation, you can enjoy improved performance with minimal disruption. By following the steps outlined above, you’ll have a faster, more reliable computer without the inconvenience of starting from scratch.
- What to Consider When Planning an International Trip
- ymcaeuc.org Wellness and Fitness Programs: Building Healthier Communities Through Active Living
- Can Beginners Start a Dropshipping Business?
- How to Upgrade Hard Drive Without Reinstalling Windows
- Why Gaseping com Is Becoming a Popular Multi-Topic Website